


Those who love grilling often seek the perfect char on their grilled delicacies, and achieving this starts with lighting charcoal. You can be certain that a charcoal chimney starter is your best friend in this process.
Today, I will guide you through the process of using a charcoal chimney starter effectively, ensuring your grilling sessions are not just successful but also safe and enjoyable.
Step-by-Step Guide to Using a Chimney Starter
Now, let’s go through steps that will make your use of a chimney starter a breeze.
Step 1: Fill the Chimney

Start by filling your chimney starter with charcoal. For larger grills or longer cooking times, fill it to the top. For smaller amounts, adjust accordingly.
Step 2: Prepare the Ignition Base
Place one or two lighter cubes on your grill’s charcoal grate and light them. Lighter cubes are recommended for their ease of use and effectiveness in any weather condition.
Crumple up several sheets of newspaper and place them underneath the chimney starter. For a longer burn, spray the newspaper lightly with vegetable oil before placing it under the chimney.
Step 3: Light the Charcoal
Set the chimney starter over the lit lighter cubes or newspaper. The heat will rise and ignite the charcoal from the bottom.
This method ensures an even and efficient lighting of the charcoal without the need for lighter fluid, which can impart a chemical taste to your food.
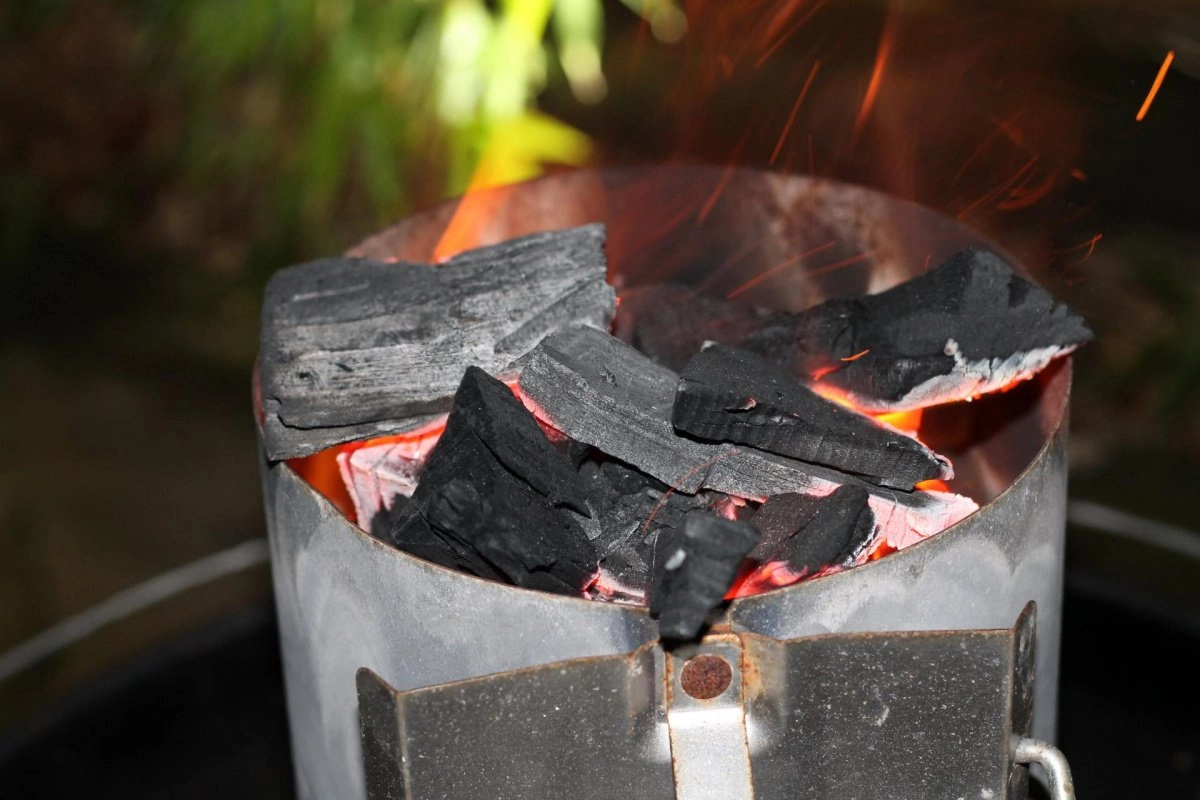
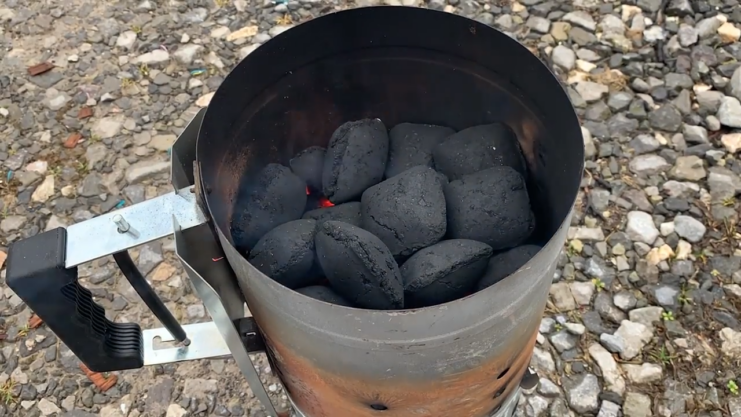
Step 4: Wait for the Charcoal to Ignite
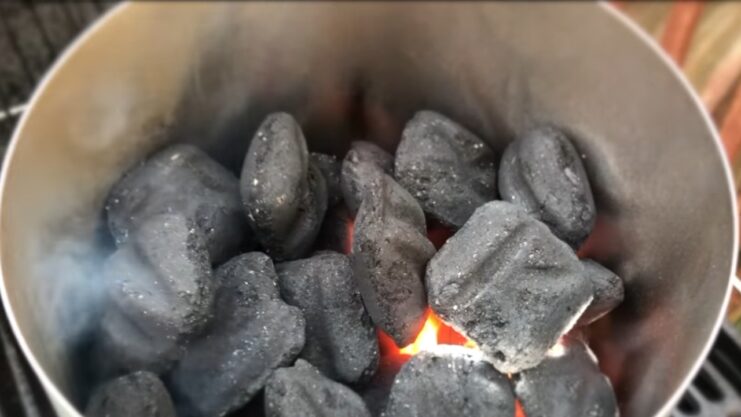
Allow approximately 10-20 minutes for the charcoal to light fully. You’ll know it’s ready when you see more intense flames from the top and the charcoal pieces at the top turn gray with ash.
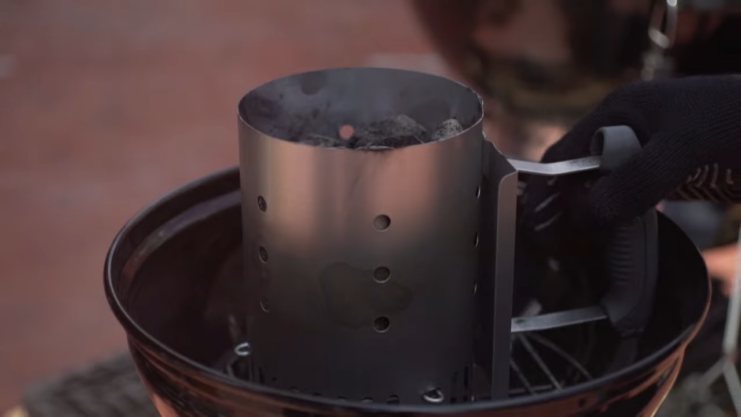
Step 5: Pour Out the Charcoal
Once the charcoal is ready, carefully lift the chimney by its handle and pour the hot coals into your grill.
Arrange them as needed depending on whether you are cooking with direct or indirect heat. Remember to wear heat-resistant gloves during this step to prevent burns.
Step 6: Start Grilling
After distributing the coals, replace the cooking grate, close the grill, and let it heat up to the desired cooking temperature. This usually takes around 10-15 additional minutes.
Safety Precautions and Maintenance
When engaging in activities involving fire and hot coals, prioritizing safety is crucial. It is advisable to wear safety goggles and BBQ gloves at all times. This equipment helps protect against sparks and extreme heat, reducing the risk of injuries.
Handling the Chimney Starter
Extreme caution is necessary when using the chimney starter. This metal cylinder becomes intensely hot during use and retains heat long after the coals are removed, posing a risk for severe burns.
Always utilize the heat-resistant handle provided with your chimney starter, and ensure that it is kept at a safe distance from any flammable materials.
Post-Use Care
Once the hot coals are safely transferred to your grill, it’s important to let the chimney starter cool down completely before attempting to touch or move it. Place the chimney starter on a non-flammable surface away from any potential fire hazards to allow it to cool safely.
Longevity and Maintenance of Your Chimney Starter
To maximize the life of your chimney starter and ensure it remains effective for many grilling seasons, regular maintenance is essential. This involves routinely clearing out any ash and residue that could block the air vents.
Storing your chimney starter in a dry place will help prevent rust and deterioration, thereby extending its usability and performance. These steps will help maintain the efficiency and safety of your chimney starter for future use.
Troubleshooting Common Issues
Now, let us address some common issues you should pay attention to.
Difficulty in Ignition
If you encounter issues with the charcoal not igniting properly, it’s essential to first inspect the air vents of the chimney starter.
Blocked vents can inhibit airflow, which is crucial for ignition. Additionally, assess whether you have used sufficient igniting material, such as lighter cubes or newspaper.
If the initial amount was inadequate, consider increasing the quantity of newspaper or switching to a more potent fire starter, like lighter cubes, which might provide a more reliable source of ignition.
Similarly, for a Traeger grill not igniting, ensure the pellets are feeding correctly into the firepot and that the auger is functioning smoothly.
Uneven Heating
Uneven heating of the coals can often be attributed to an irregular distribution of charcoal within the chimney starter. To prevent this, always ensure that the charcoal is evenly spread within the starter at the beginning of the process.
Halfway through the ignition period, a gentle shake of the chimney starter can help redistribute the coals, allowing for more uniform heating. This adjustment promotes consistent performance across the entire batch of charcoal.
Safety Concerns
It is crucial never to leave a lit chimney starter unattended. Always place the chimney starter on a stable, heat-resistant surface to prevent accidents.
For those considering using a pellet grill on an apartment balcony, verify with building management or local ordinances to ensure compliance with safety regulations and fire codes.
This area should be well away from children, pets, and any flammable materials to ensure safety. If at any point you observe that the fire is becoming uncontrollable or if there are any other unexpected issues, do not hesitate to use a fire extinguisher or call for emergency services.
These precautions help manage potential dangers and maintain a safe grilling environment.
Concluding Thoughts
Mastering the use of a charcoal chimney starter is a game-changer for any grilling enthusiast. It not only makes the process of lighting charcoal more efficient but also enhances the overall grilling experience.
Remember, the key to success lies in having knowledge about the tool, following safety protocols, and practicing patience. I am certain you will find this guide to be of help.